Camping is a great outdoor experience and an exceptional independence one too. You get to stay out in the open, straight under the moonlight and stars, get in touch with nature, and relax away from the noisy life of the city.
Your camping trip can be one of the most delightful and memorable times of your life as you’ll get the opportunity to go back and relive “the old simple pre-technology life”. Your trip can also be just perfect, providing that you find the perfect suitable camping spot to set your tent.
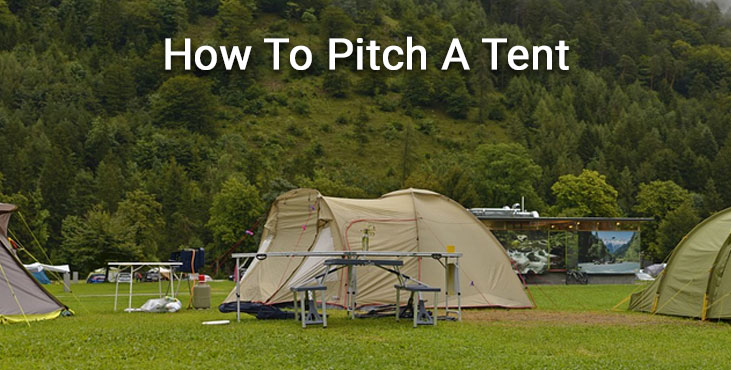
Reaching our main point; your tent = your luxury. Pitching your tent in the right spot and with minimum effort is what camping is all about.
Some people may feel that setting your own tent is a fun, collaborative task that can get a camping trip off to a good start as it can allow you to connect more with nature or a frustrating one as it can be a tiring chore. But by the following tips and steps, setting up your tent would be the easiest thing to do!
Contents
Step 1: Find the Most Comfortable Tent
When we say a comfortable tent, we mean a tent that is easy to put up and fit you well, not the most expensive one. There are different types of tents, but they all are set in the same steps. There are:
- A-Frame tents; which are the most common type and used for personal use. They’re the easiest to pitch.
- Tunnel tents are larger A-frame tents; they have extra headspace due to their two long poles. But they are not firm in windy seasons.
- Dome tents are the largest group of tents. They are also very easy to pitch.
Step 2: Find the Perfect Location
The perfect location must make your back happy. Your tent pitching area must be flat, steady, smooth and straight. It must be cleared out of any rocks, stones or anything that can hurt your back or cut the underside of your tent.
Step 3: Unpack Your Tent Supplies and Lay Down the Groundsheet
Once you have found the perfect spot to pitch your tent, you need to unpack all the tent supplies:
- Groundsheet
- Main body
- Fly and rain sheet
- Poles take
Setting up your tent is always faster if you unpack all at once. You don’t need to unpack every single thing by itself.
Now, you have all the tent parts ready, start by laying down the groundsheet first. Although you have cleared the area as much as you can, there could be hidden under the soil debris and other stones that could cut a hole in your tent and make your camping uncomfortable.
This groundsheet is used to prevent the tearing of your tent, and also, if the soil is damp, it doesn’t allow it to reach your back. It must be big enough to contain most of your tent and sheet.
Step 4: Lay Out Your Tent
Lay down the main body over the groundsheet and match the tags of the main body with that of groundsheet to make the hooks on the top.
Step 5: Add the Poles
Most tents come with four poles. You need to match them by their colors to the main body or by their tags. Insert the poles through the main body, sliding them into opposite ends to create a tension following a semicircle shape. Tie the plastic clips or the endpoints around the poles to hook them in their place.
Pro tip: take care of directions. You don’t want to be facing the wind, you want to be facing the rising sun. So, adjust the door of the tent in its direction.
Step 6: Raise the Tent
Insert the stakes wrapping the tent loops around them in the ground by about 45 degrees to create tension to help life the tent from the ground. You would want to start at the corners then pulling the base smoothly.
You may need to use a hammer or a rock to firmly and rigidly ensure the stakes in their place. You can also push them into the soil allowing tension to increase between the poles to hold the frame in its place.
Step 7: Secure the Fly-sheet and Rain-sheet
Now, you have set up your tent good enough to lay in it. however, you need to set up two kinds of sheets to protect yours through your camping inside the tent. The flysheet to protect you from insects and flies and the rain sheet as the tent itself is not waterproof.
The fly-sheet is to be attached on the line of the two front poles of the tent either by a hammer or a rock to ensure that it matches the door of the tent and it is stable to the ground and doesn’t get blown off by the wind.
As for the rain-sheet or rainfly, it is set to overtop the tent by also attaching it over the poles of the tent to protect your tent from any rain showers if you like to camp in the winter.
Final Step: Enjoy Your Camping
Now, you have pitched your tent, raised it and protected it. All that is left is to move in, put your things in it, unfold your sleeping bags, store your food, light a small fire beside it and start enjoying your time in the open air.
Finally, when you are pitching your tent, you should be aware of certain things:
- Don’t use extra strength when you are inserting your poles in the main body because the sheet may be torn apart by an unadjusted movement.
- Try to find the tags first then see which pole is of the same length as the side of the main body.
- Double-check that you have hammered all the stakes of the tent because if you move in while it is loose, it may collapse, and if it is windy, it may fly away.
- Try to pitch it first in your backyard or a park before you go off on your trip to make sure you don’t get confused there and ensure a simple and easy experience.
Leave a Reply